Project Options
Managing Project Users
Project access can be restricted to selected users by assigning project permissions.
Steps to add a user
1. Click the button which has a down button.

2. Click on red “+” button circle.
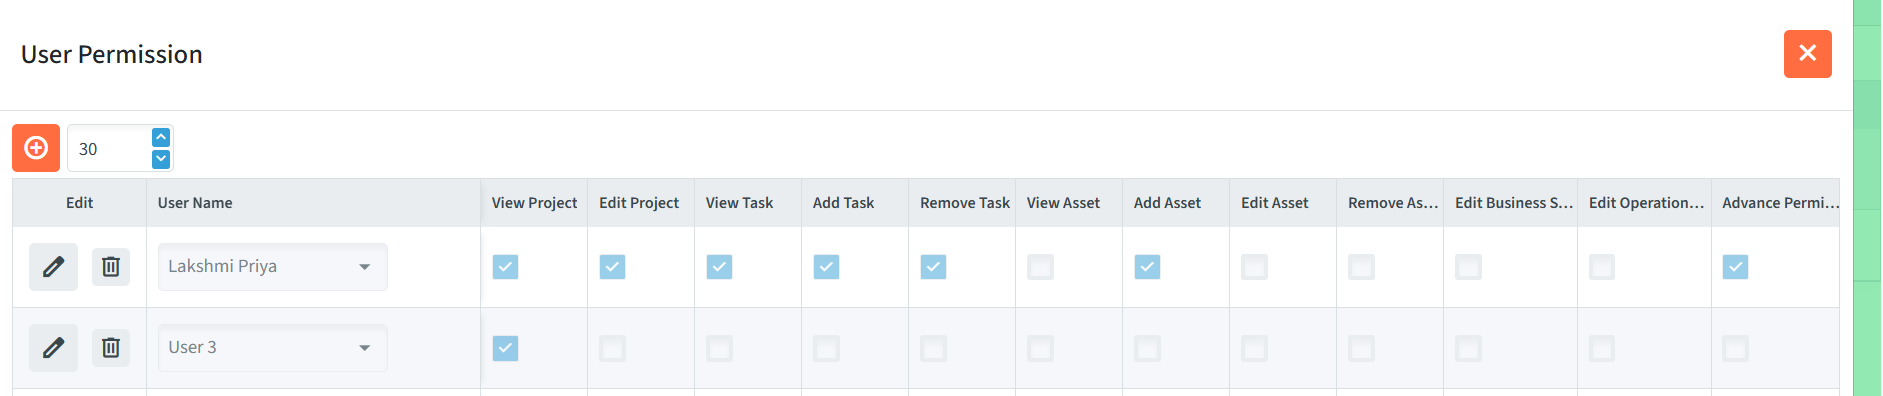
3. Choose the user from the list.

4. Click on the tick (✔) button.
Editing or Removing User Permissions
To modify an existing user’s permissions:
- Open the User Permission window.
- Locate the user in the list.
- Update the required permission checkboxes.
- Click on the tick mark to save.

To remove a user from the project:
- Locate the user in the permissions list.
- Click the Delete icon.

Removing a user revokes all access to the selected project while leaving the project and its associated data unchanged.
Viewing and Managing a Project
Selecting a project from the list opens its detailed view, where you can monitor project activities and manage associated tasks.
From the project view, you can:
- View project information.
- Review all tickets associated with the project.
- Monitor task progress.
- Approve tickets.
- Add follow-ups.
- Access the project Gantt Chart.
The ticket management interface within a project is identical to the standard Tickets module, providing a consistent user experience.
Add Existing ticket
- You can add a ticket that already exists to your project.
- Simply type the ticket ID into the field
- click the “Add” button.


Add a New Ticket
This function works the same way as adding a regular ticket.
Please refer to the this article for more details – Ticket